


Here it is, my first craft project for the blog. Be sure to read through, as there is a GIVE-AWAY at the end of this posting!
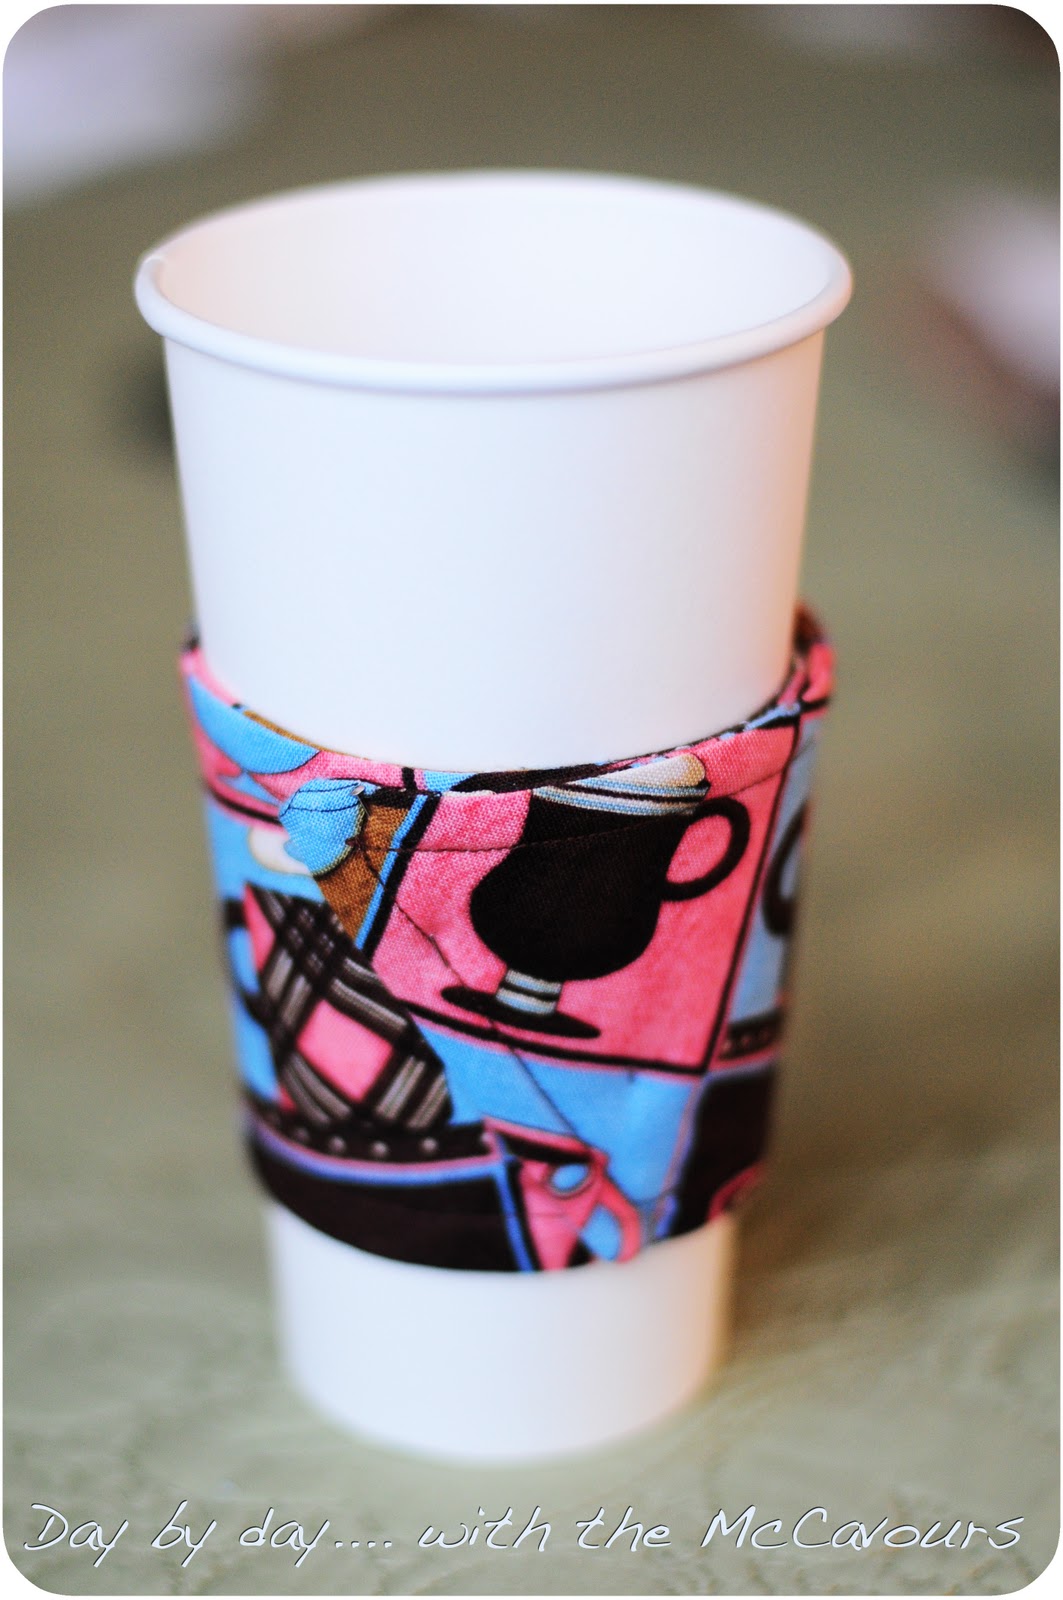
This very simple project is for a reusable, washable coffee sleeve to add style to your paper coffee cup. These "coffee cuffs" are great to make from scrap fabrics or from the fat quarters available at most fabric stores. One fat quarter will make two cuffs with enough left over for one side of a another cuff.
Supplies needed:
fabric
all purpose thread, in colors to match fabric
stiff fabric stabilizer (the white stuff in this picture), usually by the fusing and interfacing
cardboard coffee sleeve (save one when you are out for coffee next time)
card stock to create pattern
sharpie or pen to trace pattern
sewing machine
Extra's: a mug of coffee nearby and some good music!

I purchased the supplies above at Joanne's Fabrics as they have coupons for half off one item in the paper every week. Not that half off on one of these items is much, but it all helps.

Prewash the fabric on cold with a little detergent. I usually do this on the quick cycle.

While your fabric is being washed, you can create your cuff pattern. Unfold the coffee sleeve and lay out on your card stock. I taped two pieces of card stock together to have a large enough piece. I roughly traced 1/2 inch out from the cardboard with a sharpie. I extended the sides as well and brought the corners to a nice point.

Cut out the card stock on the lines you drew. Measurements for my pattern are in the picture below.


After the fabric has been dried in the clothes dryer, press with an iron.

Trace around your pattern on the fabric stabilizer. I repeated this over the entire yard of stabilizer I had. The stabilizer will give stiffness and insulation to the coffee cuff. Cut out the pieces when done tracing.

Repeat the tracing with your fabric pieces. I traced with the right side up of pattern, then flipped it over to trace the other piece. This way when the two pieces are put right sides together, they will be the same.

This is how your layers should look before sewing. The two pieces of fabric, right sides together, then the stabilizer on the outside. This is important so that when it is turned right side out, the stabilizer will end up in the middle. I should know as I goofed on this at first and if you look closely above, you will see some threads left on the fabric from ripping out the seam.

On one end, place two pins about 2 inches apart. You will start sewing from the bottom pin around the cuff until you reach the top pin, leaving the area in between open. Sew about a quarter of an inch from the edge.

Make sure you backstitch your ends so they don't unravel.


When done with the seam, trim the corners to a nice point, close to the seam, so that they lay better when turned right side out.

Turn right side out. Use a blunt long object to help push the corners out all the way. I very carefully used my scissors so that I wouldn't poke through.

Press flat after turned right side out.

Tuck the open end under and press flat.


With a hidden stitch, close the opening. If you would rather, machine stitch near to the edge to close. I ended up hand stitching one and using the machine for the others. When the cuff is sewn into a circle, you can hide that end on the inside.

The cuff has a finished look to it if you sew a seam about a quarter of an inch from the edge. Do one continues seam around the entire cuff.

To size it, I wrapped the cuff around a standard 16 ounce coffee cup and pinned the layers together. Slip off the cuff and hand stitch with a slip stitch the two ends to the layer underneath. Start with the outside end, then invert and sew the other end. If you create a cuff with two different fabrics, finished this way it will be reversible!

The finished products!! Now I just need to make a pot of coffee!! Keep one in your car or purse when you buy coffee on the fly. Add your own personal style to that coffee chain cup!

For a more whimsical look, add buttons or other embellishments to your cuff.

The above and below pictures are cuffs that are waiting to be finished with hand sewing.

I love how you can get "coffee" fabrics!

The above fabrics are cut and waiting to be sewn.
So, there you have it! Step by step instructions on making your own coffee cuff. The good news for those that don't sew, I am having a give-away!!! One reader who leaves a comment in the comment form below will win two of these cuffs handcrafted by me! Readers have one week to leave a comment and I will use random.org to select a winner and will announce the winner on Friday the 18th. Readers may only enter once. The winner will be able to choose among the above cuffs and choose if they want it embellished with buttons. The cuffs will be mailed USPS within a week of the drawing. Good luck and thanks for reading!
Adorable!!! I love those coffee fabrics -might just have to make something new for my kitchen!! ;)
ReplyDeleteThey look great, you are very talented. I especially like how you set up the pictures! :o)
ReplyDeleteOh fun! Good job. :-)
ReplyDeleteThose are very cute! I'd love to have one for when I drink cocoa since I don't drink coffee...but I know lots of people who do (including my husband)
ReplyDeleteHey, what a treat to have a material "cuff" for a coffee cup.... very creative, and good pics
ReplyDeleteof the project!! Thanks for sharing!!!
If anonymous in the last comment wants a chance of winning a cuff, I need a name. You can email me at gar@frontier.com. Thanks!
ReplyDeleteLove the fabrics you chose.
ReplyDeleteVery fun fabric choices! Very cute with the buttons added.
ReplyDeleteThose are so CUTE. Love the ones with the buttons on em. Makes me feel like gettin' busy on my sewing projects which are way behind right now.
ReplyDeleteWanting to wish you a happy birthday today, Amy! I don't think I have your current email address. Those coffee cuffs are cute, I like the coffee-themed fabric too. ♥
ReplyDeleteThose are so neat! I have the Costco made porceline "Starbucks" style mugs and the coffee cuffs would look perfect on them! Great job Amy!
ReplyDeleteAmy, what a great idea. I love them especially the coffee-themed ones. How cool to walk around with one of those on your coffee cup!!
ReplyDeleteAdorable! Wish we had Joanne's fabrics here!
ReplyDeleteLove the sleeves Amy. I'd love to win one :)
ReplyDelete